Introduction
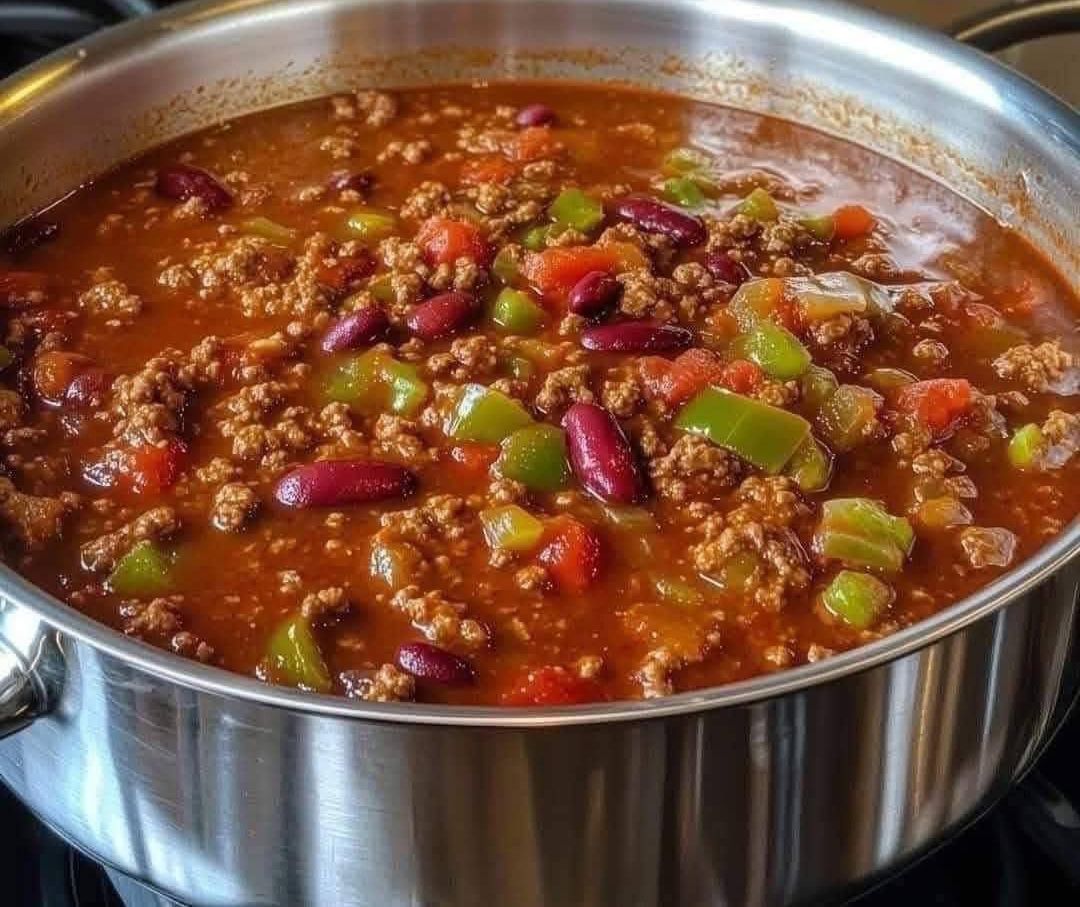
Wendy’s Chili is a beloved classic that has warmed hearts and satisfied appetites for years. Known for its rich, hearty flavor and comforting texture, this chili is perfect for chilly days or any time you crave a filling meal. Made with fresh ground beef, a medley of beans, and a blend of spices, it offers a delightful balance of savory and slightly spicy notes.
This recipe captures the essence of Wendy’s signature dish, allowing you to recreate that delicious experience in your own kitchen. Whether you’re serving it at a family gathering, a game day party, or simply enjoying a cozy night in, this chili is sure to please everyone. Plus, it’s easy to make and can be prepared in a pot or slow cooker, making it a versatile choice for any cook.
Get ready to savor every spoonful of this comforting, flavorful chili that’s not only delicious but also a great way to warm up on a cool day!
Ingredients
2 pounds fresh ground beef
1 quart tomato juice
1 (29-ounce) can tomato purée
1 (15-ounce) can red kidney beans, drained
1 (15-ounce) can pinto beans, drained
1 medium-large onion, chopped (about 1 1/2 cups)
1/2 cup diced celery
1/4 cup diced green bell pepper
1/4 cup chili powder (use less for milder chili)
1 teaspoon ground cumin (use more for real flavor)
1 1/2 teaspoons garlic powder
1 teaspoon salt
1/2 teaspoon ground black pepper
1/2 teaspoon dried oregano
1/2 teaspoon sugar
1/8 teaspoon cayenne pepper
Directions
Brown the Beef:
In a large skillet, brown the ground beef over medium heat. Drain off any excess fat.
Combine Ingredients:
In a 6-quart pot, combine the browned beef with the following ingredients:
Tomato juice
Tomato purée
Red kidney beans
Pinto beans
Chopped onion
Diced celery
Diced green bell pepper
Chili powder
Ground cumin
Garlic powder
Salt
Ground black pepper
Dried oregano
Sugar
Cayenne pepper
Simmer the Chili:
Cover the pot and let the chili simmer for 1 to 1 1/2 hours, stirring every 15 minutes to ensure even cooking.
Slow Cooker Option:
Alternatively, you can cook this chili in a slow cooker on low for 3 to 4 hours.
Method for Storing
Storing Leftovers
Cool the Chili:
Allow the chili to cool to room temperature before storing. This helps prevent condensation inside the container, which can lead to spoilage.
Use Airtight Containers:
Transfer the chili into airtight containers. If you have a large batch, consider dividing it into smaller portions for easy serving and reheating.
Label and Date:
Label each container with the date it was made to keep track of freshness.
Refrigeration
Storage Duration:
Store the chili in the refrigerator for up to 3-5 days. Ensure the container is tightly sealed to maintain freshness.
Freezing
Freezing the Chili:
If you want to store the chili for a longer period, you can freeze it. Use freezer-safe containers or heavy-duty freezer bags.
Storage Duration:
Frozen chili can be stored for up to 3 months. For best results, consume it within this timeframe to enjoy optimal flavor and texture.
Thawing:
To thaw frozen chili, place it in the refrigerator overnight or use the microwave’s defrost setting. Avoid thawing at room temperature to prevent bacterial growth.
Reheating
Reheating in the Microwave:
Place the desired portion in a microwave-safe bowl, cover it loosely, and heat in intervals of 1-2 minutes, stirring in between until heated through.
Reheating on the Stovetop:
Pour the chili into a saucepan and heat over medium heat, stirring occasionally until warmed through.
Tips for Best Results
Avoid Long-Term Storage:
For optimal taste and texture, try to consume the chili within the recommended storage duration.
Check for Freshness:
Before consuming leftovers, check for any signs of spoilage, especially if it has been stored for several days.
Reviving the Chili:
If the chili seems thick after storage, you can add a little water or broth while reheating to restore its consistency.